

Yesterday as I was leaving to run some errands, I noticed it was leaning...a lot...like at a 45 degree angle. Sad, sad, droopy mailbox. I wish I had taken a picture when I saw it, but by the time I got home, Dave had already taken it down. Here it is - poor, poor thing:

Luckily, this weekend is payday so I just added a trip to Lowe's to my list of errands. On the way there, I was on the phone with Bonnie, who was researching mailboxes on the Lowe's website so that I would be prepared for the size of the investment I was about to make! I was pleased to hear there are plenty of affordable options. Here are some options she found:
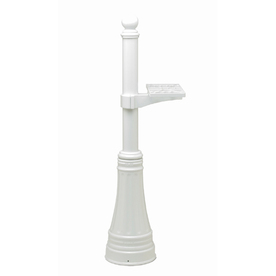
Why does this cost $262?
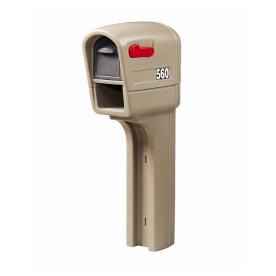
This one is much cheaper at $58, and Dave's parents have it. I like it, but Dave hated it.
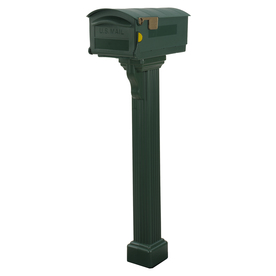
I liked this one, but they didn't have it in the store. A brown one might have looked nice with the colors of our house, and at only $49, it would have been a steal.
I chose a simple white post and a classic black mailbox. Boring, I know, but out of the options they had in the store, it was the best choice. I even picked up 2 options for adding numbers to the mailbox, because I couldn't choose between them at the time. I'll return the one we didn't use.
This morning, we got to work on the mailbox, trying to finish before it either got too hot or rained, both of which were possibilities based on looking outside. It was pretty easy to put together, and we just need to drive a stake into the ground to anchor it. Once that was stable, we slid the mailbox post onto the stake and screwed it in. Easy!


Now it's time for the letters. Once I saw the mailbox in its place, I decided on the attachment that screws onto the post and holds the numbers, rather than sticking the letters directly onto the post. The set came with plenty of assorted adhesive numbers, along with a template I used to make sure I put the numbers on straight.

Once I put letters on both sides of the plate, Dave screwed it onto the post, and voila! Mailbox is done!

No comments:
Post a Comment